Saturday, February 1, 2014

OCC Stenciled Day 4 Project


Last day of class!  I tried Jennifer's technique of using embossing powders on top of embossing paste and ended up with a really unique texture.  I have a flame stencil from Crafter's Workshop that I thought would look good with some added color on black.  The big mistake I made was not using any powder on the black paper to begin with.  I had the biggest embossing powder mess that I had to painstakingly brush off the areas that I did not want embossed! 
 
Anyway, I heated the powder before the paste had dried and did get the bubble up effect which looks really cool on this card.


What a fun class this was!

Thanks for stopping by!

L

OCC Day 3 Projects


Today was all about using pastes to add texture and dimension.  I recently got a new stencil from Simon Says Stamp called Falling Snow because I have loved all of the wintery projects that I have seen made with it.  However, it also kind of looks like confetti to me, which is how I used it here.  I took Wendy Vecchi translucent embossing paste and colored three globs with it using some Stampin' Up re-inkers.  Then I randomly spread the colored paste over the dots to get a multi-colored effect.  The dots look shiny in real life.


I am also entering this in the Simon Says Stamp Work It Wednesday Challenge, since this is the first time I have used my new stencil.

Thanks for stopping by!

L

Friday, January 31, 2014

OCC Stenciled Day 2 Projects/MFTWSC161


Here are my projects for the Online Card Classes "Stenciled" class for Day 2.  I started with trying my hand at watercoloring within a stencil using the Tim Holtz star stencil.  I used blues in an ombre pattern.  I am not too happy with the watercolor paint that I have.  The lighter colors don't seem to show up at all.  I may need to invest in some higher quality paints.  I cut the panel down and used the My Favorite Things card sketch for the week to finish off the card using the MFT stacking star die-namics as well.


The second project was done using the tracing technique.  I followed Kristina's basic sketch and substituted a Valentine's theme and colors.  I added some glitter tape in place of her dashed lines and then felt the card was more balanced if I placed it on the other side as well.


Now on to Day 3!

Thanks for stopping by!

L

Thursday, January 30, 2014

OCC Stenciled Day 1 Projects


It's been a while since posting, but I have not really been participating in challenges or classes for a long time. 

This month, however, I signed up for the latest Online Card Class: Stenciled.  I have a few stencils and rarely use them, so this was a great reason to start.

I tried a couple of the techniques from Day 1 - sponging and heat embossing.

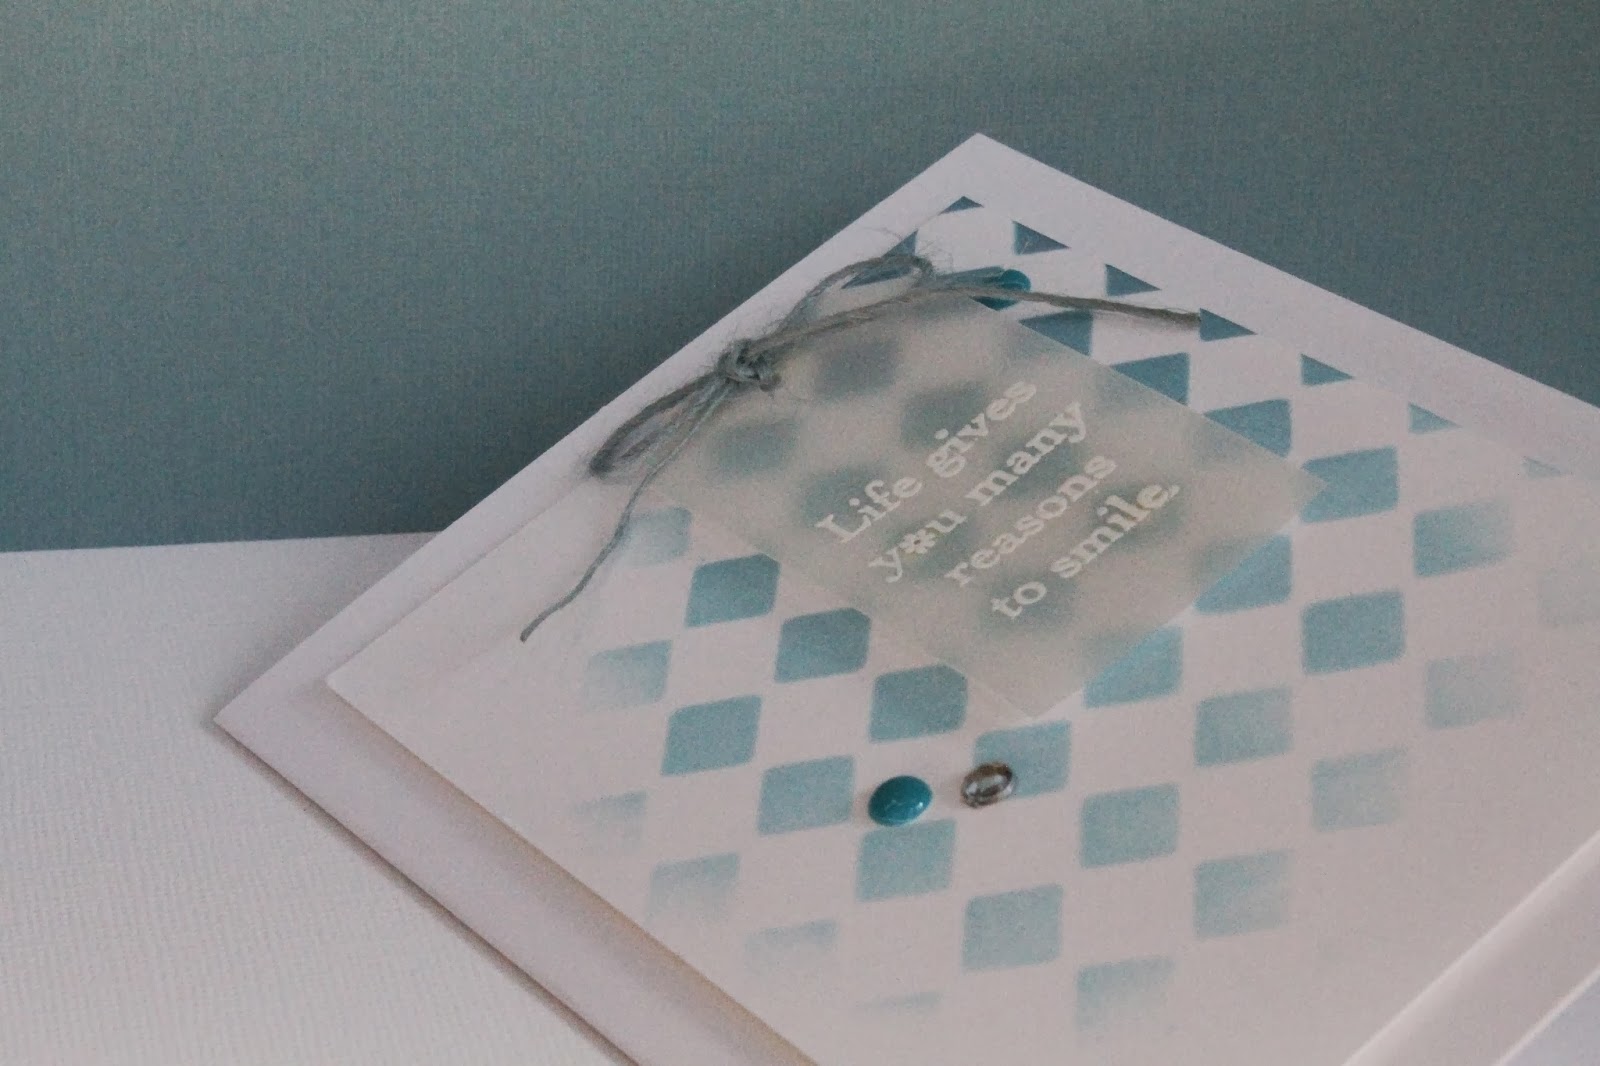
For the first card, I basically followed the same card design that Debby Hughes created.  I used an old checkerboard stencil that I turned 90 degrees.


For the embossing technique, I used a Christy Tomlinson vintage lace stencil/mask and sponged Versamark over the interior.  The design was quite intricate, so not all areas received the ink, but I still think that it looks pretty with the warm distress ink colors.  I also tried using tissue paper behind my sentiment like in Laura Bassen's card.  I still can't get myself to embrace the new "thread nest" touches that I keep seeing everywhere, though!


That's it for Day 1.  Off to play with Day 2 content!
 
Thanks for stopping by!
 
L

Sunday, July 7, 2013

Mojo Monday 300

Talk about last minute!  I have just a few hours until the deadline to enter the Mojo Monday sketch challenge for #300!  They have some great prizes and a really great collection of cards entered.

Here is the sketch:


I wanted to try making a card without stamping being the main attraction.  I used some My Mind's Eye papers and paper pieced part of the pattern to make it more dimensional.  I added a little bling in the form of yellow rhinestones in place of three of the berries. 

This card ended up being a bit of a challenge since I wanted to incorporate so many patterns.  You should see the mess of trial and error on my desk!


I'd better get this linked up!

Thanks for stopping by!

L


Thursday, June 27, 2013

I was a winner!

Back on National Scrapbooking Day (May 5th) I had a few minutes here and there throughout the day to follow some of the activities on various blogs.  Scrapbooks and Cards Today Blog was holding an hourly giveaway from various sponsors to post commenters (as well as beautiful projects to go with them!).  Well ... I actually won!  I couldn't believe it when I saw my name in the list of winners.  I was the recipient of the Fancy Pants Trendsetter collection.  That's right - the whole collection!

Look at the goodies that showed up just a couple of weeks later in the mail:

Everything came wrapped in this ribbon with a "congratulations" card.
 
 
Here are all of the pretty papers.


The stickers and flag diecuts.


All of the embellishment packs.


Even two pieces of corrugated paper.  I've never used this.


I may use this collection to document our recent trip to Florida.  One day was spent at the Edison and Ford Estates learning about these famous inventors' lives.  There are quite a few vintage elements in the embellishments that highlight old telephones, clocks, typewriters, etc.  The colors also remind me of all the colorful houses in the area.

Thanks to Fancy Pants and Scrapbooks and Cards Today! Go check out their Summer 2013 on-line magazine issue for some scrapbooking inspiration!

Thanks for stopping by!
L

Sunday, June 9, 2013

Make it Monday #119

I absolutely loved this week's Make it Monday over at Papertrey Ink.  The flag style banners introduced by Dawn McVey were so fun.  They were a perfect excuse to pull out my 6x6 paper pads and I made 2 different cards, one feminine and one masculine.

On this first one, I used the beautiful My Mind's Eye The Sweetest Thing Tangerine collection.  My PTI addition was the place card and butterfly from Places, Please and the sentiment from the Tiny Treats: Birthday Stamp Set.  This will be my birthday card to my niece.


My second card uses Basic Grey Marrakech papers and a Jillibean Soup Happy Birthday label.  I also added some white enamel dots from the My Minds Eye Kate & Co Oxford collection.  I think they are the first ones I have seen in white.

This card is for my son.  I can't believe he is 12 already!  His birthday is today, but he is currently at Boy Scout summer camp. We celebrated Friday, but I sent a care package with this card so that he has something to open on his actual birthday.  I put some money in it so that he can get himself an ice cream treat at the Trading Post!


I kept my cards very close to what Dawn did on her examples.  However, I have seen some wonderful variations in the Make it Monday #119 gallery.  Go check them out!

Thanks for stopping by!
L

Saturday, May 11, 2013

Scrapbook Layout: How my blog got its name

Tracy over at Mercy Tiara has a challenge (with a lovely prize package) going at her blog.  The topics can be a) how you started scrapbooking, b) how you got your blog/screen name, or c) your favorite crafting goodies.  You had to use thickers, wood veneer, layering, and handwriting.  I thought this challenge was very fun.  For once, I had to go find photos to fit my story instead of starting with the photos and going from there.  I decided to tell the story of my blog name.


The journaling reads: Half of my adult life has been spent in the Air Force in some capacity: US Air Force Academy, AF pilot, AF Reserves.  However I have always had a passion for crafting as well.  When I chose a name for a small jewelry business and then when I started a blog recently, I chose Blue Yonder Designs.  This refers to the Air Force Song's 1st line "Off we go into the wild blue yonder, climbing high into the sun."

This layout is doing double duty, as I am enrolled in Lisa Day's 28 Days of Sketches: Round 2 at Big Picture Classes.  I used the Day 3 sketch for this.

Thanks for stopping by!
L

Wednesday, April 24, 2013

PTI Make it Monday #113

I was excited to see the most recent Make it Monday challenge over on Nicole Heady's blog this week.  Just by coincidence, I had pinned a scrapbook page that she had done because of some beautiful stamped butterflies that had been decorated with Perfect Pearls, but had no idea how she did it.  This week she showed us how!

I have had a set of 4 metallic Perfect Pearls for years and only knew how to make a mist a la Jennifer McGuire so far with it.

I really liked the technique of "lifting away" the pearl sheen and tried that first.  I cut out my image panel and covered it with Versamark ink.  I then applied the bronze-colored Perfect Pearls to the whole thing and wiped away the excess.  I used two different leaf images from Leaf Prints to ink  with Versamark and lift away the pearl.  It is very pretty in real life, but hard to photograph.


My second card is a little more straight-forward.  I used the Mat Stack 1 Collection to stamp an image and sentiment, then used my gold Perfect Pearls to color it.
 
 
I will share a third card using a two-toned approach tomorrow.  It still requires a little tweaking.
 
Thanks for stopping by!
 
L


Saturday, March 23, 2013

Pattern Play Day 5

Well, I sure have gotten to dig into my older 6 x 6 pads while participating in this class!  Today I used the Basic Grey Max and Whiskers collection that I have been hoarding.  The topic was paper manipulation and I tried the quilted strip technique.  I CASED Kristina Werner's card because I liked it.


The airplane and cloud are from Taylored Expressions and the sentiment is an old one from Stampin' Up.  I loved watching the pattern transform as I placed down the strips.

I think that is it for the Pattern Play class.  It was fun to make myself actually participate at the time of class instead of watching the videos and planning to make cards "later".  That never seems to happen!

Thanks for stopping by!

L

Pattern Play Day 4

Day 4's lessons were all about ways to alter your patterned papers.  I chose to try the whitewash technique with some die cut Papertrey Ink leaves using the Basic Grey Archaic 6 x 6 pad.


I added some distress stickles to the green leaf in the upper righthand corner and white embossed the sentiment.

Thanks for stopping by!

L

Pattern Play Day 3

Now for my Pattern Play Day 3 cards!  When mention of large, bold, hard-to-use patterns was made, I immediately thought of this piece of paper in the Basic Grey Blush collection.  It has beautiful colors, but I knew I would never use it.  Enter the Pattern Play class!

I took part of the page and mounted it with breaks on my card.  I then fussy-cut the bird (on the same sheet of patterned paper) and used it as an embellishment on top of the baker's twine.  Voila!  Paper used!


I really loved the layout used by Debby Hughes on the butterfly card and used the basic sketch to make my own with some Echo Park 6 x 6 A Walk in the Park patterned paper.  It looked unfinished until I added the enamel dots to the flower.


Day 3 is a wrap!  Thanks for stopping by!

L

Friday, March 22, 2013

Pattern Play Day 2

I am back with my Pattern Play Day 2 cards!  I love the resist technique and learned it in the very first Online Card Class that I took. 

I decided to challenge myself and try a shabby-vintage style, which is very difficult for me.  I stamped the Medallion stamp from Stampin' Up on some text paper from a My Mind's Eye Lost and Found 6 x 6 pad, embossed it in clear, and then inked it up with tattered rose, victorian velvet, worn lipstick, and tea dye Distress Inks.  I added a bit of crocheted lace, some seam binding, and a tag and tiny hearts from the Tiny Tags set by Papertrey Ink.


I am also uploading this card to this week's Make it Monday #108 challenge at Papertrey Ink, since it is also an inked background challenge.


In addition to the inked background technique, I played with paper piecing.  I used the Year of Flowers: Daffodil set from Papertrey Ink.


That wraps up Pattern Play Day 2!  Thanks for stopping by!

L

Pattern Play Day 1

I really love the Online Card Classes with Kristina Werner and Jennifer McGuire.  I am enrolled in the Pattern Play class that started on Monday and I am determined to actually try the techniques that I am learning!

Day 1 included a set of cards by Jennifer McGuire that layered various die cut patterned papers in different ways.  I immediately thought of my Spellbinders Dalia nestabilities that I have never used.  I paired them with some 6 x 6 papers from the Basic Grey What's Up collection and a teal sheet from the Heidi Grace Sunshowers 6 x 6 pad.

The first one uses copic inking between layers.

The next ones were both raised, one with Stampin' Up dimensionals and the other with some thicker dimensional squares.


The third example is my favorite: using a white border around each layer.


And finally, one in which I inked the edges of each layer with some Chai distress ink from Papertrey Ink.

I hand-cut and scored the banners on each card and stamped a sentiment from the Hero Arts set Everyday Sayings.

That's it for Pattern Play Day 1!  Thanks for stopping by!

L